如果你对宝塔面板已经审美疲劳,其他的一键编译web环境也不想安装了,那么就可以试试自己在CentOS8手动部署Memcached+MariaDB+PHP+Nginx+CertBOT之后来部署wordpress~~~
1、准备
下面的环境均在CentOS 8上面部署操作<CentOS Linux release 8.2.2004 (Core)>
1)查看CentOS版本
whoami
root
cat /etc/redhat-release
CentOS Linux release 8.2.2004 (Core)
2)系统尽量维持在最新版(可选)
dnf makecache
dnf update -y
3)建议关闭SELinux和Firewalld,防火墙可以使用云厂商自带的(可选)
vim /etc/selinux/config
SELINUX=disabled
systemctl disable --now firewalld
4)最后重启保证修改生效
reboot
2、安装MariaDB
MariaDB和MySQL一样,相对来说更轻量,资源占用率比较低。MySQL新版占用内存太高,1G内存的小鸡扛不住~~,所以这里选择MariaDB~~
1)安装MariaDB
dnf install mariadb-server -y
2)开机启动mariadb
systemctl enable --now mariadb
3)初始化
mysql_secure_installation
......
Enter current password for root (enter for none): # 直接回车即可,因为我没还没有设置root密码
......
Set root password? [Y/n] Y # 设置ROOT密码
New password: # 输入root密码,我这里输入的是:1nKf4D^0NGPb*Ak
Re-enter new password:
Password updated successfully!
......
Remove anonymous users? [Y/n] Y # 移除匿名用户
......
Disallow root login remotely? [Y/n] Y # 关闭root远程登录
......
Remove test database and access to it? [Y/n] Y # 移除测试数据库
......
Reload privilege tables now? [Y/n] Y # 刷新权限表
4)设置字符编码为utf8
编辑配置文件我们需要修改字符集为utf8
vim /etc/my.cnf.d/mariadb-server.cnf
......
[mysqld]
......
# 在mysqld段增加下面的配置
character-set-server=utf8
collation-server=utf8_unicode_ci
......
5)重启服务
systemctl restart mariadb
6)创建Wordpress数据库
$ mysql -uroot -p
# 输入root密码
Enter password:
# 查看字符编码
MariaDB [(none)]> \s
--------------
mysql  Ver 15.1 Distrib 10.3.17-MariaDB, for Linux (x86_64) using readline 5.1
Connection id:          8
Current database:
Current user:           root@localhost
SSL:                    Not in use
Current pager:          stdout
Using outfile:          ''
Using delimiter:        ;
Server:                 MariaDB
Server version:         10.3.17-MariaDB MariaDB Server
Protocol version:       10
Connection:             Localhost via UNIX socket
Server characterset:    utf8
Db     characterset:    utf8
Client characterset:    utf8
Conn.  characterset:    utf8
UNIX socket:            /var/lib/mysql/mysql.sock
Uptime:                 1 min 10 sec
Threads: 7  Questions: 4  Slow queries: 0  Opens: 17  Flush tables: 1  Open tables: 11  Queries per second avg: 0.057
--------------
# 创建wp数据库
MariaDB [(none)]> create database wp;
Query OK, 1 row affected (0.000 sec)
3、安装Memcached
为了加速我们的网站访问,减少查询,我们用了Memcached来做缓存服务,至于为什么不用redis,因为Memcached足以满足我们的服务~
1)安装memcached
dnf install memcached libmemcached -y
2)修改配置文件使只监听127.0.0.1
$ vim /etc/sysconfig/memcached
......
OPTIONS="-l 127.0.0.1"
......
3)开机启动mariadb
systemctl enable memcached --now
4、安装PHP和nginx
PHP这里用的7.4版本,推荐用新版本~
1)安装
以下命令分别复制安装~
$ dnf install epel-release -y
$ dnf install https://rpms.remirepo.net/enterprise/remi-release-8.rpm -y
$ dnf module reset php
$ dnf module enable php:remi-7.4 -y
$ dnf install php-pecl-memcached php-pecl-memcache php php-opcache php-gd php-curl php-mysqlnd php-zip php-mbstring php-devel php-json -y
2)安装
这里开始nginx服务安装
[reply]
dnf install nginx -y
3)修改配置
默认使用的用户是apache,但是我们使用的是nginx,所以需要把用户修改为nginx
$ vim /etc/php-fpm.d/www.conf
......
user = nginx
group = nginx
......
4)修改文件授权
$ chown -R root:nginx /var/lib/php
5)启动
systemctl enable --now php-fpm
5、WordPress安装
1)WordPress下载解压到指定目录下就可以了
# 安装wgey命令,下面需要用到
$ dnf install wget -y
$ cd /var/www
$ wget https://wordpress.org/latest.tar.gz
$ rm -fr html
$ tar xf latest.tar.gz
$ mv wordpress html
$ rm -f latest.tar.gz
2)设置授权
$ chown -R nginx.nginx html
3)数据库配置
$ cd html/
$ cp wp-config-sample.php wp-config.php
$ chown nginx.nginx wp-config.php
$ vim wp-config.php
......
define( 'DB_NAME', 'wp' );
define( 'DB_USER', 'root' );
define( 'DB_PASSWORD', '#1nKf4D^0NGPb*Ak' );
define( 'DB_HOST', 'localhost' );
......
6、Nginx部署
nginx在PHP部分已经安装好了,所以直接跳过安装进入部署
1)配置nginx.conf
这里准备的域名是:mm.qixi.ng,请根据需要修改为自己的~~
$ vim /etc/nginx/nginx.conf
user nginx;
worker_processes auto;
error_log /var/log/nginx/error.log;
pid /run/nginx.pid;

include /usr/share/nginx/modules/*.conf;

events {
    worker_connections 1024;
}

http {
    log_format  main  '$remote_addr - $remote_user [$time_local] "$request" '
                      '$status $body_bytes_sent "$http_referer" '
                      '"$http_user_agent" "$http_x_forwarded_for"';

    access_log  /var/log/nginx/access.log  main;

    sendfile            on;
    tcp_nopush          on;
    tcp_nodelay         on;
    keepalive_timeout   65;
    types_hash_max_size 2048;

    include             /etc/nginx/mime.types;
    default_type        application/octet-stream;
    include /etc/nginx/conf.d/*.conf;

    server {
        listen 80;
        server_name mm.qixi.ng;

        root /var/www/html;
        index index.php;

        location / {
           try_files $uri $uri/ /index.php$is_args$args;
        }

        location ~ \.php$ {
            try_files $uri =404;
            fastcgi_split_path_info ^(.+\.php)(/.+)$;
            fastcgi_pass unix:/run/php-fpm/www.sock;
            fastcgi_index index.php;
            include fastcgi_params;
            fastcgi_param SCRIPT_FILENAME $document_root$fastcgi_script_name;
            fastcgi_param PATH_INFO $fastcgi_path_info;
        }

        location = /xmlrpc.php {
            deny all;
            access_log off;
        }

        location = /favicon.ico {
            log_not_found off;
            access_log off;
        }

        location = /robots.txt {
            allow all;
            log_not_found off;
            access_log off;
        }

        location ~ /\. {
            deny all;
        }

        location ~* /(?:uploads|files)/.*\.php$ {
            deny all;
        }

        location ~* \.(js|css|png|jpg|jpeg|gif|ico)$ {
            expires max;
            log_not_found off;
        }
    }
}
2)启动NGINX
systemctl enable --now nginx
3)添加域名解析
本位用的域名为:mm.qixi.ng,请自行A解析域名到你的服务器,具体过程略过~~~
7、安装wordpress
1)如果打开域名不能访问,可以关闭防火墙,或者放行80和443端口~
firewall-cmd --zone=public --add-port=80/tcp --permanent
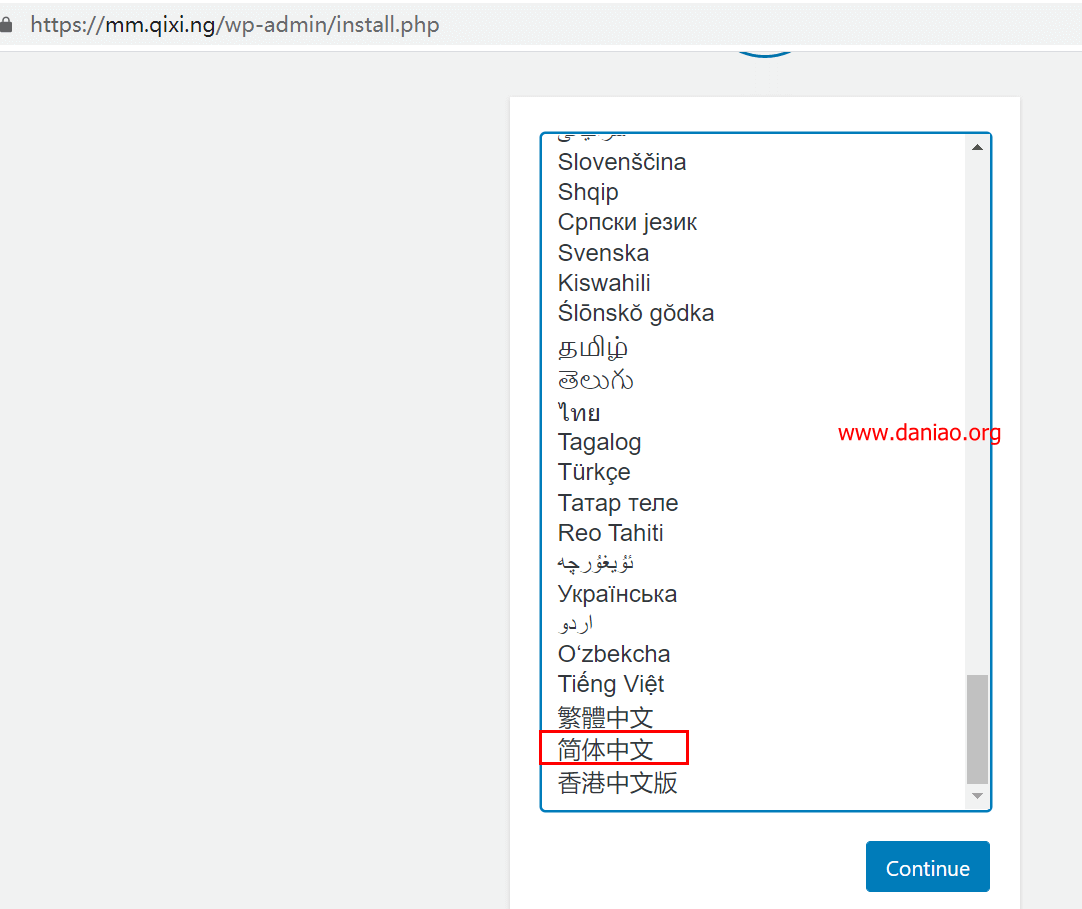
2)浏览器打开mm.qixi.ng,一步一步初始化安装,如何安装wordpress就略过了。
8、CertBOT
如果你的站点并不想使用https,那么可以直接跳过这段。为了使用https我们需要通过使用certbot来签发ssl证书!!
$ curl -O https://dl.eff.org/certbot-auto
$ mv certbot-auto /usr/local/bin/certbot-auto
$ chmod 0755 /usr/local/bin/certbot-auto
# 根据提示输入一些信息即可
$ /usr/local/bin/certbot-auto --nginx
2)由于签发的证书有效期只有三个月,所以我们需要添加定时任务来自动续签
$ crontab -e
0 0,12 * * * /usr/local/bin/certbot-auto renew --dry-run
3)下面是使用了https的nginx完整的配置文件
$ vim /etc/nginx/nginx.conf
user nginx;
worker_processes auto;
error_log /var/log/nginx/error.log;
pid /run/nginx.pid;

include /usr/share/nginx/modules/*.conf;

events {
    worker_connections 1024;
}

http {
    log_format  main  '$remote_addr - $remote_user [$time_local] "$request" '
                      '$status $body_bytes_sent "$http_referer" '
                      '"$http_user_agent" "$http_x_forwarded_for"';

    access_log  /var/log/nginx/access.log  main;

    sendfile            on;
    tcp_nopush          on;
    tcp_nodelay         on;
    keepalive_timeout   65;
    types_hash_max_size 2048;

    # 添加gzip压缩
    gzip on;
    gzip_min_length 0;
    gzip_comp_level 9;
    gzip_types *;
    gzip_vary on;

    include             /etc/nginx/mime.types;
    default_type        application/octet-stream;
    include /etc/nginx/conf.d/*.conf;

    # 隐藏nginx版本信息
    server_tokens off;

    server {
        if ($host = mm.qixi.ng) {
            return 301 https://$host$request_uri;
        }

        listen 80;
        server_name mm.qixi.ng;
        return 404;
    }

    server {
        listen 443 ssl http2;
        server_name mm.qixi.ng;

        ssl_certificate /etc/letsencrypt/live/mm.qixi.ng/fullchain.pem;
        ssl_certificate_key /etc/letsencrypt/live/mm.qixi.ng/privkey.pem;
        include /etc/letsencrypt/options-ssl-nginx.conf;
        ssl_dhparam /etc/letsencrypt/ssl-dhparams.pem;
        add_header Strict-Transport-Security "max-age=31536000; includeSubDomains";
        ssl_session_cache shared:SSL:20m;

        root /var/www/html;
        index index.php;

        location / {
           try_files $uri $uri/ /index.php$is_args$args;
        }

        location ~ \.php$ {
            try_files $uri =404;
            fastcgi_split_path_info ^(.+\.php)(/.+)$;
            fastcgi_pass unix:/run/php-fpm/www.sock;
            fastcgi_index index.php;
            include fastcgi_params;
            fastcgi_param SCRIPT_FILENAME $document_root$fastcgi_script_name;
            fastcgi_param PATH_INFO $fastcgi_path_info;
        }

        location = /xmlrpc.php {
            deny all;
            access_log off;
        }

        location = /favicon.ico {
            log_not_found off;
            access_log off;
        }

        location = /robots.txt {
            allow all;
            log_not_found off;
            access_log off;
        }

        location ~ /\. {
            deny all;
        }

        location ~* /(?:uploads|files)/.*\.php$ {
            deny all;
        }

        location ~* \.(js|css|png|jpg|jpeg|gif|ico)$ {
            expires max;
            log_not_found off;
        }
    }
}
4)当访问http会自动跳转到https
curl -I mm.qixi.ng
HTTP/1.1 301 Moved Permanently
Server: nginx
Date: Wed, 21 Oct 2020 11:10:38 GMT
Content-Type: text/html
Content-Length: 178
Connection: keep-alive
Location: https://mm.qixi.ng/
5)https可以正常访问
curl -I https://mm.qixi.ng/
HTTP/2 200
server: nginx
date: Wed, 21 Oct 2020 11:11:32 GMT
content-type: text/html; charset=UTF-8
vary: Accept-Encoding
x-powered-by: PHP/7.4.11
link: <https://mm.qixi.ng/wp-json/>; rel="https://api.w.org/"
strict-transport-security: max-age=31536000; includeSubDomains
6)当Memcached缓存配置之后,访问几次页面,然后通过telnet连接memcached查看是否生效
$ dnf install telnet -y
$ telnet localhost 11211
Trying ::1...
telnet: connect to address ::1: Connection refused
Trying 127.0.0.1...
Connected to localhost.
Escape character is '^]'.
stats
......
# 关键数据
# 缓存访问数
STAT cmd_get 5654
# 缓存命中数
STAT get_hits 5456
# 缓存miss数
STAT get_misses 84333
......
[/reply]
9、最后
以上教程属于瞎折腾,宝塔折腾腻了,可以玩玩这个教程,宝塔太臃肿了,用这个清凉下一也不错~~配置nginx.conf的时候,可以用SFTP来连接到服务器进行编辑文件的操作。
wordpress-2.png">
端口问题,你用用商家的防火墙,关闭centos的Firewalld,这个地方稍微注意下……